
Steampunk Industrial Shelving: A Weekend DIY Project
Build your own pipe-and-wood shelves for a bold, industrial look using accessible materials.
Dreamy Decor | Steph B
3/18/20252 min read
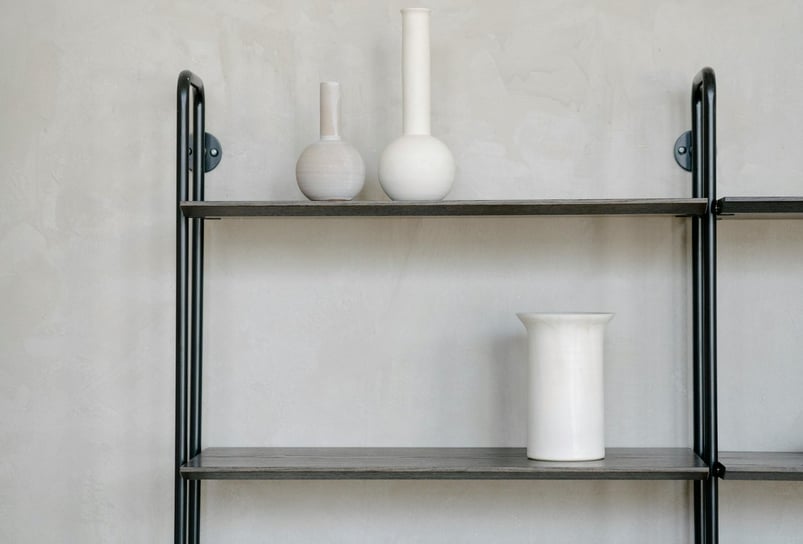
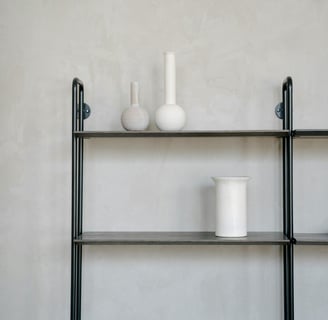
Steampunk industrial shelving is a stylish and functional way to add character to your space. Combining the raw appeal of metal pipes with the warmth of wood, this easy DIY project creates a bold, vintage-inspired aesthetic. Whether you need extra storage, a statement bookshelf, or a unique display unit, you can complete this project over a weekend with affordable, readily available materials.
Let’s break it down step by step!
1. Gather Your Materials
Affordable Tip: Check salvage yards or repurpose old pipes for a budget-friendly project.
To achieve an industrial steampunk look, you’ll need:
Materials Needed:
Black iron pipes and fittings (flanges, elbows, and tees)
Wooden planks (cut to desired shelf length)
Screws and wall anchors (to support weight)
Drill and screwdriver
Sandpaper (for smoothing wood edges)
Wood stain or sealant (optional for a finished look)
Measuring tape and level (for accuracy)
Budget Options:
Look for reclaimed wood at thrift stores or flea markets.
Use PVC pipes painted with metallic spray paint as an alternative.
Borrow tools instead of purchasing new ones.
2. Plan Your Shelf Design
Affordable Tip: Sketch out different layouts before drilling into the wall.
Before assembling your shelves, consider:
The number of shelves you want
The height and spacing between shelves
Whether the shelving unit will be wall-mounted or freestanding
Popular Layouts:
Wall-mounted floating shelves – Great for books and decorative items.
Corner shelving unit – Maximizes space in small rooms.
Freestanding unit – Uses floor-to-ceiling pipes for a dramatic statement.
Budget Options:
Arrange and test your layout on the floor first.
Use scrap wood to practice drilling before installing.
3. Assemble and Install the Shelves
Affordable Tip: Use pre-cut wood to skip extra labor costs.
Follow these steps to assemble and install your industrial shelving:
Prepare the Wood: Sand the planks and stain or seal them for a polished look.
Assemble the Pipe Frame: Connect pipe fittings according to your design.
Secure to the Wall: Use flanges and wall anchors to attach the pipe frame securely.
Attach the Wooden Shelves: Place and fasten the planks onto the pipe frame with screws or brackets.
Budget Options:
Opt for wall-mounted shelves to save on materials.
Use heavy-duty adhesive anchors if drilling isn’t an option.
Repurpose an old bookshelf frame and add pipe elements for a steampunk effect.
4. Style Your Shelving Unit
Affordable Tip: Decorate with thrifted industrial and vintage pieces.
Once your shelving is installed, it’s time to style it!
Decor Ideas:
Stack vintage books or display old-fashioned globes and clocks.
Use metal storage bins for a mix of style and functionality.
Add Edison bulb string lights or a wall-mounted lamp for a warm ambiance.
Incorporate plants like ferns or snake plants for contrast.
Budget Options:
Thrift industrial-style decor items like gears, wire baskets, or old signage.
DIY leather strap brackets for a mixed-material look.
Upcycle small metal objects as bookends or decorative accents.
Final Thoughts
Creating your own steampunk industrial shelving is a rewarding DIY project that adds bold character to any space. With just a few accessible materials and a weekend’s effort, you can craft custom shelves that blend vintage charm with modern practicality.